
ESP32 Internal Temperature Sensor is basically to calculate the temperature of the ESP32 core. This sensor, however, can’t measure the ambient temperature, that is, atmospheric temperature. For that purpose, we would need to use external temperature sensors like DS18B20, DHT11, BMP280, etc. In this tutorial, we’ll first explore the basics of the Internal Temperature Sensor and then write code to monitor temperature changes by altering the CPU frequency of the ESP32.
Materials Required
| Component | Quantity | Description |
|---|---|---|
| ESP32 Development Board | 1 | To execute and debug the code |
| USB Cable | 1 | To attach the ESP32 board to the computer |
| Computer with Arduino IDE | 1 | For writing and uploading the code |
| Jumper Wires (optional) | As needed | For additional peripherals |
| Breadboard (optional) | 1 | For prototyping connections |
Note:
- Not in all ESP32 models The Internal Temperature Sensor.
- If the ESP32 board does not have the sensor, it will return an invalid temperature reading of 53.33°C or 128 in decimal.
ESP32 Temperature Sensor Characteristics
| Characteristics | Value |
|---|---|
| Types of Converter | ADC (Analog-to-Digital Converter), DAC (Digital-to-Analog Converter) |
| Highest Accuracy Range | -40 °C to 125 °C |
| Suitability | Good |
| Hishest Accuracy Range | -10 °C to 80 °C |
| Measurement of fluctuation of Temperature | High resolution |
| Possible Performance & Accuracy Issues | Voltage fluctuations, Noise, External disturbances, Nearby heat sources |
About ESP32’s Internal Temperature Sensor
It measures the temperature of the ESP32 core and should not be used for exterior measurements. The sensor can be found on some selected boards for the ESP32 while absent on many others of the older varieties. With an extreme sensing range of temperature up to -40°C and 125°C, the chip can easily be suitable for IoT real-time purposes in applications like home automation or security systems. These projects often run 24/7 and may lead to the motherboard heating up. Hence, the internal temperature sensor ensures stable performance during extended operations.
ESP32 Boards with Integrated Inbuilt Temperature Sensor
The following versions of ESP32 include an inbuilt temperature sensor as per the ESP-IDF documentation:
- ESP32-C2
- ESP32-C3
- ESP32-C6
- ESP32-H2
- ESP32-S2
- ESP32-S3
How Does the ESP32 Temperature Sensor Work?
The ESP32 temperature sensor is using two types of converters:
- 8-bit Sigma-Delta ADC
Sigma-Delta ADCs are highly accurate and of high resolution as well. They convert the analog signal, sent by the temperature sensor in the form of a digital signal that can easily be processed by the microcontroller.
- Digital-to-Analog Converter
The DAC ensures measurement accuracy by reconverting digital values into analog signals, offsetting temperature-induced variations. This process ensures consistent and accurate readings.
Measuring Errors in the Temperature Sensor
The sensor has an accuracy for one temperature range. The range from -10°C to 80°C gives the best accuracy. This is the table of the errors over different ranges
| Offset | Predefined Range (°C) | Error (°C) | Operating Range (°C) |
|---|---|---|---|
| -2 | 50 ~ 125 | < 3 | Not recommended |
| -1 | 20 ~ 100 | < 2 | Ideal range for best accuracy |
| 0 | -10 ~ 80 | < 1 | Acceptable range with moderate accuracy |
| 1 | -30 ~ 50 | < 2 | Usable range with increased error at extremes |
| 2 | -40 ~ 20 | < 3 | Not recommended (Error) |
Note: External factors like heat can also affect the sensor’s accuracy
Formula to Convert Fahrenheit to Celsius
To convert observed temperatures in Fahrenheit to Celsius, use the formula:
(F - 32) * (5/9) = Celsius
Applications of ESP32’s Built-in Temperature Sensor
- Optimizing Chip Performance
The designer can monitor the inside temperature of the chip to analyze its performance in harsh conditions and to figure out bottlenecks. Thus, this increases the chip’s performance. - Avoiding Overheating
It heats up excessively if operating at the highest level of utilization. The designers can also design ways to avoid overheating by monitoring the temperature at the core. - Energy Monitoring
With the help of observing temperature fluctuations, better knowledge of energy consumption patterns is acquired. Thus, IoT projects can have optimized energy use.
Program of ESP32 to Read Core Temperature
If you haven’t installed ESP32 yet in Arduino IDE, see how to install ESP32 in Arduino IDE. Below is the code:
#ifdef __cplusplus
extern "C" {
#endif
uint8_t temprature_sens_read();
#ifdef __cplusplus
}
#endif
uint8_t temprature_sens_read();

void setup() {
    Serial.begin(115200);
}

void loop() {
    Serial.print("Temperature: ");
    Serial.print(temprature_sens_read());
    Serial.print(" F");
    Serial.print("______");

    // Convert raw temperature in F to Celsius
    Serial.print((temprature_sens_read() - 32) / 1.8);
    Serial.println(" C");
    delay(1000);
}
Code Description
- Style Guard:
This ensures C++ code can interface with C code.cppCopy code
#ifdef __cplusplus
extern "C" {
    uint8_t temprature_sens_read();
}
#endif
Setup Function:
Initializes the Serial Monitor at a 115200 baud rate.
void setup() {
    Serial.begin(115200);
}
Loop Function:
- Reads core temperature using
temprature_sens_read(). - Converts temperature from Fahrenheit to Celsius.
- Prints results to the Serial Monitor.
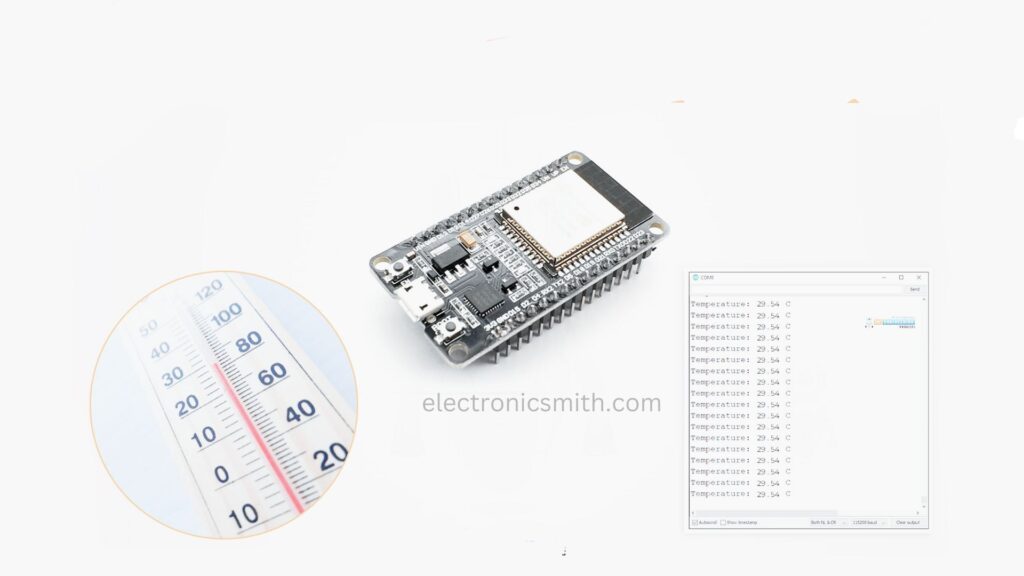
Testing & Results
- Upload the code to your ESP32 board.
- Open the Serial Monitor with a baud rate of 115200.
- Press the EN button on the ESP32 board.
- See the results in the Serial Monitor.