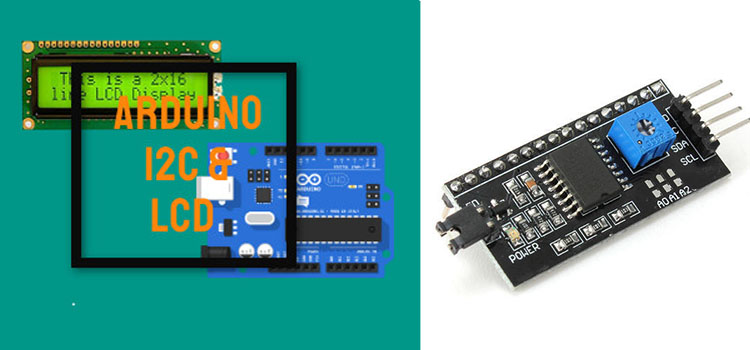
LCD (Liquid Crystal Display) is also known as an alphanumeric display. It shows the alphabets and numbers, and a few symbols. It is a no graphic display for colors and pictures to show. If required, we can go for a TFT display. In this tutorial, we will learn how to connect and operate the LCD display Arduino.
Introduction to LCD display Arduino
Initially, you’ll learn LCD display interfacing an Arduino UNO using an I2C module. I2C module aids in decreasing the complexity while connecting the LCD display panel with Arduino. Without the I2C module, you require 16 wires and that would be complex and also decreases the number of I/O pins of the Arduino board. And if you use the I2C display, you have to make only four connections.
I2C (Inter-Integrated Circuit)
This module is generally pronounced as IIC or I squared C. It is basically a master-slave system bus. It is a two-way communication in which the master can give instructions to slaves and can take data from the slave. Here, in this particular communication, master and multiple slave components can communicate. A single master can communicate with so many slaves without any chaos as each slave element has its own unique address and the master can decide to whichever slave it requires. It is a very easy and less costly method of communication in which only two transmission wires are required for information to exchange and they are
SDA (Serial Data Pin)- It produces a clock signal that synchronizes the information transferred by the I2C bus. The clock signal is generated by the master element.
SCL (Serial Clock Pulse)- It is the data pin.
I2C MODULE

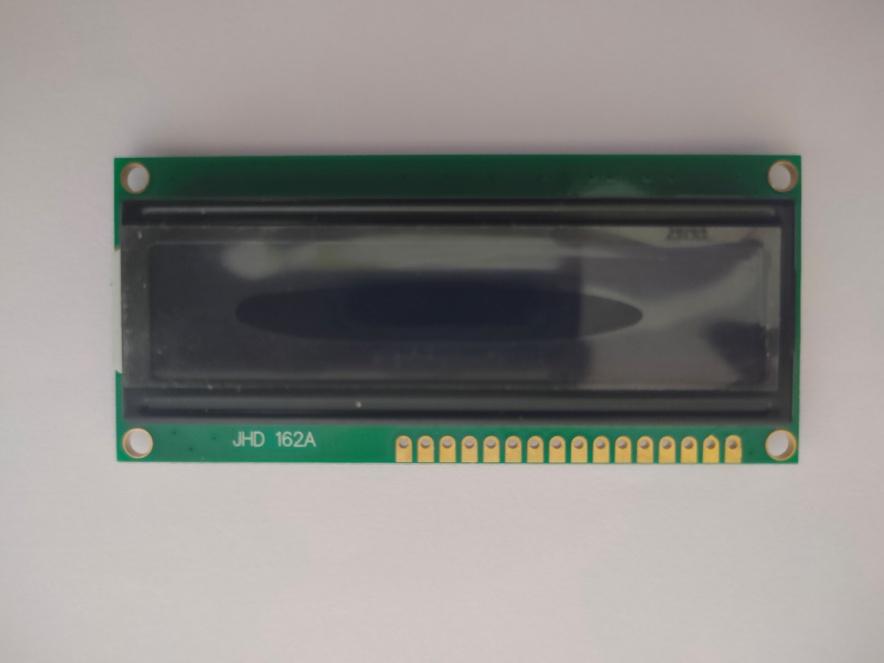
This module should be mounted on a 16×2 LCD display. It is already discussed above that the module consists of two main pins SDA and SCL, and the other two pins i.e.VCC and GND. VCC pin is for providing power supply to the module and the GND pin is to close the circuit. A potentiometer in mounted on the I2C display that will change the contrast setting of the LCD display.
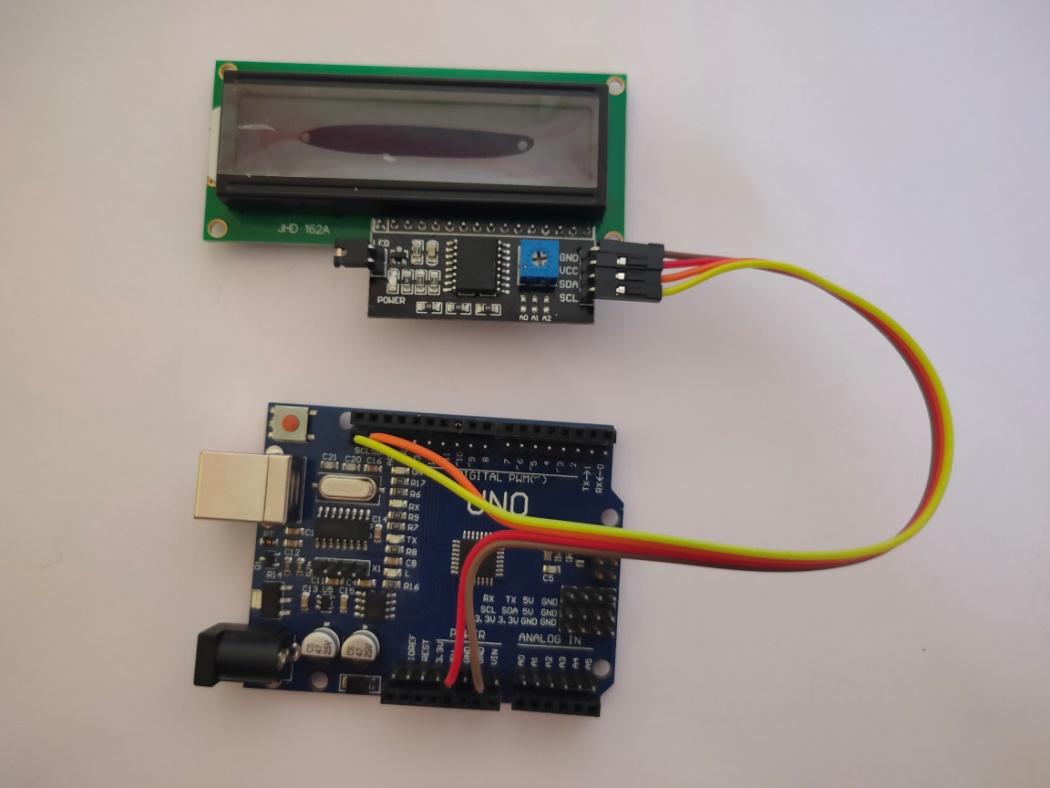
CONNECTIONS
Connections between the I2C module and the Arduino board can be done as follows.
| I2C module | Arduino UNO |
| VCC | 5V |
| GND | GND |
| SCL | SCL |
| SDA | SDA |
Code
Download
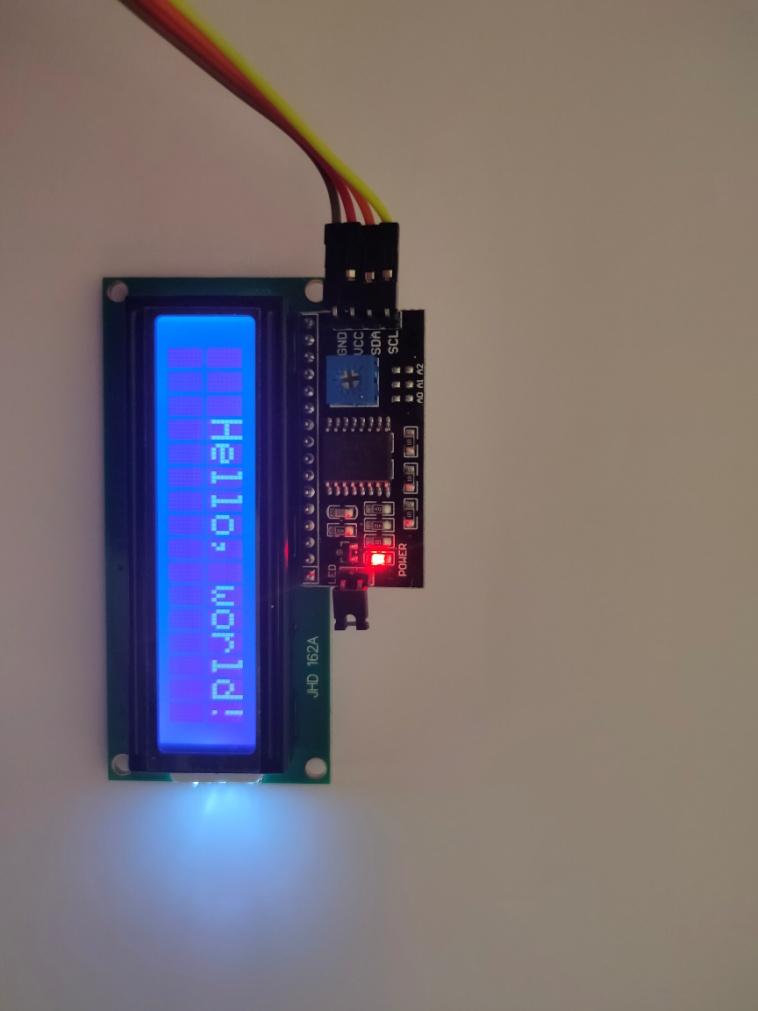
Results
Once the code is written in Arduino IDE, compile and upload it to the Arduino board and you’ll see the output as shown in the picture below. You can also check the output on the serial monitor of the Arduino IDE.
Follow me on Instagram
By @robotic_electronics –
vineetchoudhry1910 and
nobel_chowdary
5 thoughts on “Arduino LCD display with I2C module”