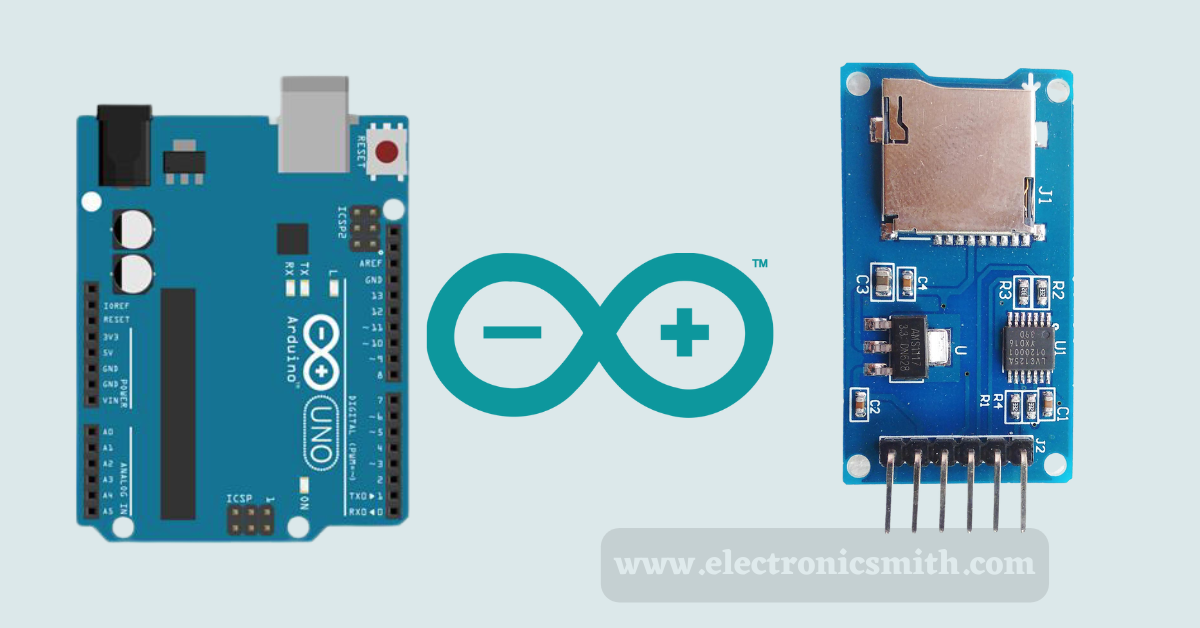
Cards that are popularly known as SD or micro SD cards are the best option that is available for storing extensive log data and information. These are much popular because of their feature of storing a massive amount of data and information in a smaller place. In this article, you will get all the information about Interfacing Micro SD Card Module with Arduino.
Hardware overview SD card module
The SD card module has two components that are important, and also two ways are available to interface with these SD card modules. Here is all about its components and ways to interface with SD card modules.
Any standard micro SD card has an operating voltage of 3.3 V. Therefore; we are unable to connect it directly to circuits that use 5V. The micro SD card will sustain permanent damage at voltages higher than 3.6V. Because of this, the module has an internal voltage regulator that can reduce voltages between 3.3 and 6 volts to 3.3 volts.

The module also contains a 74LVC125A chip that changes the interface logic from 3.3V-5V to 3.3V. This is called a logic level shifter. That means you can use this board to interact with both 3.3V and 5V microcontrollers like Arduino.
The two ways available to interface with the SD card modules is the :
- SPI mode consists of a lower speed and lower overhead which is easy to use with the Arduino.
- SDIO mode, on the other hand, is a complex one, but with its complexity, it is faster and more efficient too than the SPI interface.
Pinout
Here are the pins that are required to be taken up for the process:

GND, as its abbreviation, is the ground pin that needs to be linked to the Arduino’s ground pin.
VCC, The module receives electricity from this pin. The 4.5V–5.5V power supply. A 3.3V voltage regulator circuit is also included in the adapter. It is connected to the Arduino’s 5V pin.
CS, The Chip Select pin for SPI communication is located here.
MOSI, The phrase “Master Out Slave In” describes this. It serves as the module’s SPI input.
SCK, The SPI serial clock output uses this pin, referred to as the “Serial Clock” pin.
MISO, The phrase “Master in Slave Out” describes this. It serves as the module’s SPI output.
Material you need
| S. No. | Components | Units |
| 1. | Arduino UNO | 1 |
| 2. | SD Card | 1 |
| 3. | SD Card Module | 1 |
| 4. | Jumper wires | as per requirement |
Prepare SD card
For the one who has new SD cards, it’s fine as it will be pre-formatted, but if the SD card is old, then it’s required to format it before inserting it in the module and using it in the Arduino project. The module consisting of the card must be formatted as the Arduino library or the common library, which is FAT16 or FAT 32.

To format the card best way is to use the SD card formatted utility. Download the software and install it to your PC and open it then click on format and wait for some time. Do not remove the SD card during the process it may permanently damage the SD card.
Circuit connection
Starting with inserting the SD card Module in the breadboard available, follow the steps given below:
First, connect the VCC pin of the module to the 5V pin of Arduino. Next, connect the GND pin of the module to the GND pin of Arduino. Storing a lot of data is hard so the remaining SPI pins on the Arduino helps with it.
Connect the CS pin of the module to the D10 pin of Arduino. Now, connect the MOSI pin of the module to the D11 pin of Arduino. After that, connect the MISO pin of the module to the D12 pin of Arduino. Finally, connect the SCK pin of the module to the D13 pin of Arduino.
The pins used are different for various Arduino boards, so you must see the documentation and follow it as per the board available.
| MOSI | MISO | SCK | CS | |
| Arduino UNO | 11 | 12 | 13 | 10 |
| Arduino Nano | 11 | 12 | 13 | 10 |
| Arduino Mega | 51 | 50 | 52 | 53 |
Code for card information testing
/*
  Check www.electronicsmith.com for more cool projects.
  This example shows how use the utility libraries on which the'
  SD library is based in order to get info about your SD card.
  Very useful for testing a card when you're not sure whether its working or not.
*/
// include the SD library:
#include <SPI.h>
#include <SD.h>

// set up variables using the SD utility library functions:
Sd2Card card;
SdVolume volume;
SdFile root;

// change this to match your SD shield or module;
// Arduino Ethernet shield: pin 4
// Adafruit SD shields and modules: pin 10
// Sparkfun SD shield: pin 8
// MKRZero SD: SDCARD_SS_PIN
const int chipSelect = 4;

void setup() {
  // Open serial communications and wait for port to open:
  Serial.begin(9600);
  while (!Serial) {
    ; // wait for serial port to connect. Needed for native USB port only
  }


  Serial.print("\nInitializing SD card...");

  // we'll use the initialization code from the utility libraries
  // since we're just testing if the card is working!
  if (!card.init(SPI_HALF_SPEED, chipSelect)) {
    Serial.println("initialization failed. Things to check:");
    Serial.println("* is a card inserted?");
    Serial.println("* is your wiring correct?");
    Serial.println("* did you change the chipSelect pin to match your shield or module?");
    while (1);
  } else {
    Serial.println("Wiring is correct and a card is present.");
  }

  // print the type of card
  Serial.println();
  Serial.print("Card type:         ");
  switch (card.type()) {
    case SD_CARD_TYPE_SD1:
      Serial.println("SD1");
      break;
    case SD_CARD_TYPE_SD2:
      Serial.println("SD2");
      break;
    case SD_CARD_TYPE_SDHC:
      Serial.println("SDHC");
      break;
    default:
      Serial.println("Unknown");
  }

  // Now we will try to open the 'volume'/'partition' - it should be FAT16 or FAT32
  if (!volume.init(card)) {
    Serial.println("Could not find FAT16/FAT32 partition.\nMake sure you've formatted the card");
    while (1);
  }

  Serial.print("Clusters:          ");
  Serial.println(volume.clusterCount());
  Serial.print("Blocks x Cluster:  ");
  Serial.println(volume.blocksPerCluster());

  Serial.print("Total Blocks:      ");
  Serial.println(volume.blocksPerCluster() * volume.clusterCount());
  Serial.println();

  // print the type and size of the first FAT-type volume
  uint32_t volumesize;
  Serial.print("Volume type is:    FAT");
  Serial.println(volume.fatType(), DEC);

  volumesize = volume.blocksPerCluster();    // clusters are collections of blocks
  volumesize *= volume.clusterCount();       // we'll have a lot of clusters
  volumesize /= 2;                           // SD card blocks are always 512 bytes (2 blocks are 1KB)
  Serial.print("Volume size (Kb):  ");
  Serial.println(volumesize);
  Serial.print("Volume size (Mb):  ");
  volumesize /= 1024;
  Serial.println(volumesize);
  Serial.print("Volume size (Gb):  ");
  Serial.println((float)volumesize / 1024.0);

  Serial.println("\nFiles found on the card (name, date and size in bytes): ");
  root.openRoot(volume);

  // list all files in the card with date and size
  root.ls(LS_R | LS_DATE | LS_SIZE);
}

void loop(void) {
}
If everything works fine the Arduino gives you card information on the serial monitor.
Code for Reading or writing data
/*
  Check www.electronicsmith.com for more cool projects.
   this code will create a txt file in your sd card and write 1 2 3  so on in it
*/
#include <SPI.h>
#include <SD.h>

File myFile;

// change this to match your SD shield or module;
const int chipSelect = 10;

void setup()
{
  // Open serial communications and wait for port to open:
  Serial.begin(9600);
  while (!Serial) {
    ; // wait for serial port to connect. Needed for Leonardo only
  }


  Serial.print("Initializing SD card...");

  if (!SD.begin()) {
    Serial.println("initialization failed!");
    return;
  }
  Serial.println("initialization done.");

  // open the file. note that only one file can be open at a time,
  // so you have to close this one before opening another.
  myFile = SD.open("test.txt", FILE_WRITE);

  // if the file opened okay, write to it:
  if (myFile) {
    Serial.print("Writing to test.txt...");
    myFile.println("testing 1, 2, 3.");
    // close the file:
    myFile.close();
    Serial.println("done.");
  } else {
    // if the file didn't open, print an error:
    Serial.println("error opening test.txt");
  }

  // re-open the file for reading:
  myFile = SD.open("test.txt");
  if (myFile) {
    Serial.println("test.txt:");

    // read from the file until there's nothing else in it:
    while (myFile.available()) {
      Serial.write(myFile.read());
    }
    // close the file:
    myFile.close();
  } else {
    // if the file didn't open, print an error:
    Serial.println("error opening test.txt");
  }
}

void loop()
{
  // nothing happens after setup
}
1 thought on “Interfacing Micro SD Card Module with Arduino”