
Twister OS is an operating system overlay, based on Raspbian which is raspberry pi 4, and loaded with dozens of apps that users can use directly on the first boot. The design is also an interesting point on twister OS, while Raspberry Pi OS is pretty basic. Twister OS includes themes to look like windows, macOS (or even Ubuntu with LightPad). With this system, twister OS tries to merge all users into the same environment (non-Linux users, gamers, streaming fans. Twister OS is a 32-bit system, designed for the Raspberry Pi4, but it should work on Pi 3B+
Twister OS has four different versions, we will be using the TwisterOS Full (for the raspberry pi 4)
Installing Twister OS on a Raspberry Pi four.
The user will need a Raspberry Pi. So, Twister OS is built upon Raspbian OS or Raspberry Pi OS and it has a couple of different features of it. It explains more about it as themes you can put on it that make it look kind of like Windows 95 or Windows XP or Mac OS 10 and it also has some emulator software this box 68.
So what you want to do is
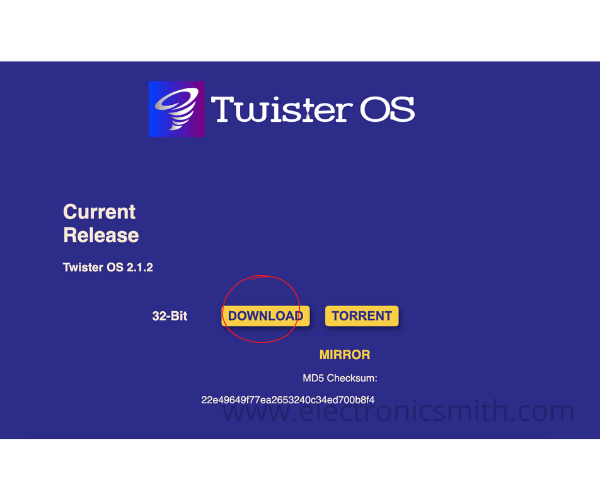
- Go to Twister OS
- Click on downloads,
- Click on Twister OS (For Raspberry Pi 4 (32-bit))
- and then click on Download next to the current release.
There’s no preview available and when you click that it will be downloaded to your computer.
- Next, go to Raspberry Pi
- Click on the software
- Scroll down to the Raspberry Pi imager Raspberry Pi OS – Raspberry Pi
- Click on the Raspberry Pi image and download it for your system.

Depending on your system Windows/Mac.
- Click on the Windows version/Mac version.
Download and install Raspberry Pi Imager to a computer with an SD card reader. Put the SD card you’ll use with your Raspberry Pi into the reader and run Raspberry Pi Imager.
- Download those two pieces of software and close the browser.
- Go to applications.
- Applications folder my doc and open up Raspberry Pi imager.
- Click on Choose OS.
- Scroll down to the bottom of this and click choose Custom.
- Go to the Downloads folder.
- Scroll to the bottom and you will see Twister OS version 195.
Users might notice this says x z at the end. So that’s compression format and it’s like zipping or GSF or things like that, but it’s x z. You don’t have to uncompress this for the Raspberry Pi imager. You can use it natively.
- Hit open here
- Next click Choose SD card.
- Insert SD card and
- Click on that and click Write.
It will ask user’s password. So enter that in. hit OK. And now this will write the image to the micro SD card and then it will verify it. So hit continue or close out of this and pull out the SD card. Switch over to Raspberry Pi and boot it up there. Insert the card into Raspberry Pi and it turns on.
The initial boot can take a few minutes as it resizes the partition and then reboots.
The welcome screen says Welcome to Twister OS. Click on Next. It will say launch Raspberry Pi configuration to set your password, timezone, language preferences, Wi-Fi, country, and enable disable overscan.
The default username on this is pi and the password is raspberry. So users can change that on that menu. Users can change the hostname as well. Users can tell it to boot to the desktop or the character line interface. It can have an auto-login, so it is currently auto logging as pi you can tell it to wait for the network at boot or not and it’s set up to do not wait and then you can turn the splash screen on or off.
Go to display the user can enable overscan so the default Raspberry Pi desktop automatically as overscan on default on this is off or click on interfaces. Here users can turn on things like the camera, SSH, and VNC on the Performance tab, and we can change the GPU memory and localization. You can change your locale. So this is set to users and hit OK.
Users can set their timezone & Wi-Fi different countries have different laws and regulations on Wi-Fi.
- Go down and set your geolocation country hit OK. And that’s finished up.
- Hit next.
It says to update your system.
- Hit next
- Choose your theme and click on that.

- Change your theme its totally on the users. This will change the user’s current theme.

- Hit next. It will have different themes.
- Click one of the themes to change the theme and it says the system will restart now.
- Press Enter to continue and it will reboot the computer.
Okay, so now we booted into Caspian 95. So this is supposed to look like a Windows 95 desktop and we have the Welcome to Twister OS again.
- Click Next on that. So users can choose their theme here.
- Click and it will get started. So that will close out this. But now that we’re on this desktop we want to change to something else we can
- Go to theme Twister
- Double click on that.
- Click on next.

When the user can choose a different OS pop up the system will restart just press Enter.
FAQs
How to install twister OS on an SD Card?
You’ll need a larger than usual microSD card—32GB is a good option. To install Twister OS, first head to the site and download the ISO. Note that the direct download option is a little slow, even on fast connections.
How do I reinitiate twister OS patcher?
You can reinitiate Twister OS Patcher by editing /usr/local/bin/twister to read the version previous from the one you are attempting to patch up to. Now open a terminal and navigate to the Downloads folder cd ~/Downloads