FSRs Or Force Sensitive resistors are also commonly known as force sensors or just FSRs. They are very handy and are low cost. These sensors are specifically designed to detect physical pressure, squeeze, and weight, but they are not so good at finding how many pounds of weight they have.
Mostly they are found in electronic drums, mobile phones, handheld gaming devices, and many other portable electronic items.
These sensors are best for measuring pressure, but they are not great at finding how many pounds of weight they have on them. Although if you just want to find out whether the sensor has been squeezed or pressed and how much they are a good option for your next touch sensing work.
Working of Force Sensing Resistor
As we have said, A FSR is essentially a resistor that switches its resistive value depending on how much it has been pressed.
The sensor looks like an infinite resistor ( open circuit) when no pressure is applied. The more you press on the head of the sensor, the lower the resistance between the two terminals will be, but as you detach the pressure, it will automatically return to its original value.

Hardware overwiew
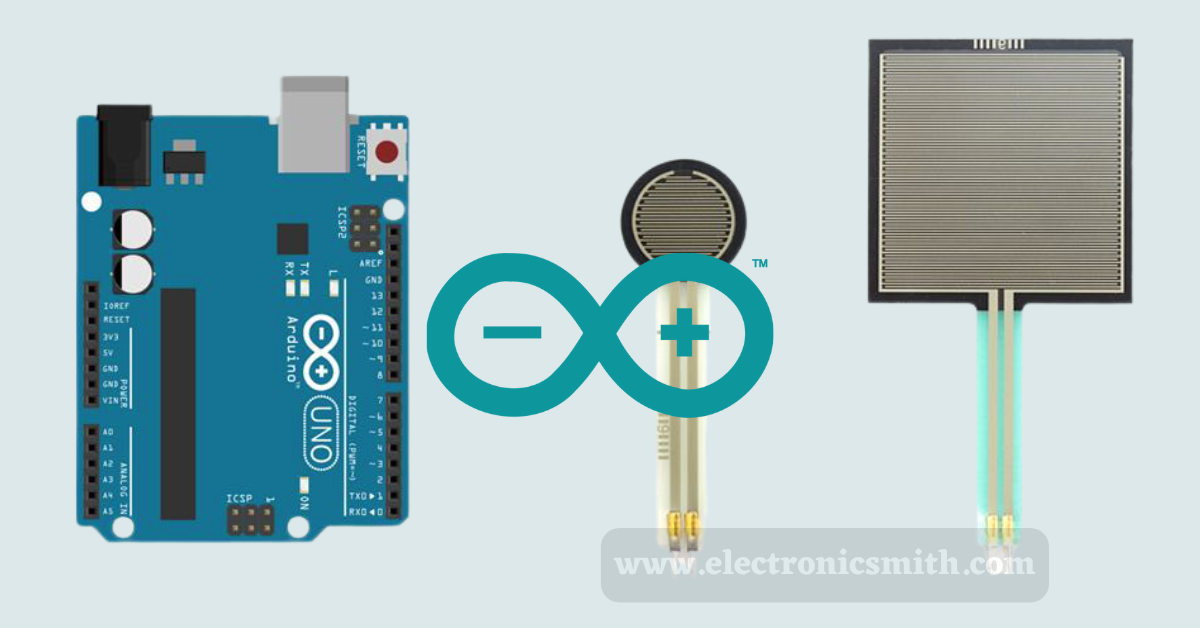
There are many variations of FSR options out there, and a few main features such as size, shape, and sensing range set them afar.
Most of the FSRs have either a circular or a rectangular sensing area. Square FSRs are best for broad area sensing, while small circular sensors can provide greater accuracy to the sensing field.

An FSR is nothing but a varying resistor that varies in resistance as pressure is given to the sensing area.
It is made up of several thin, flexible layers. The more pressure is given, the more resistive carbon elements touch the conductive traces, reducing the resistance.
The technology utilized in FSRs has been patented by interlink electronics, operating since 1985. The most familiar types of FSRs that you will easily find everywhere are the interlink FSR-402 and the FSR-406.
One of the main features of the FSR is its rated sensing range, which assigns the minimum and maximum pressures the sensor can differentiate between.
The minimum is the force rating; the more sensitive the FSR is. Any pressure above the sensor’s maximum range is difficult to measure ( which can also damage the sensor). For example, a small 1kg rated FSR may give a more sensitive reading from 0 to 1 kg but could not tell the difference between 2kg and 5 kg.
Material required
| S. No. | Components used | Unit used |
| 1 | Arduino UNO or Genuino UNO | 1 |
| 2 | USB 2. O cable type A/B | 1 |
| 3 | Force sensor | 1 |
| 4 | 10 kΩ resistor | 1 |
| 5 | Breadboard | 1 |
| 6 | Jumper wires | As per requirement |
Circuit connection
The easiest way to study the FSR is to join the FSR with a fixed value resistor (usually 10kΩ) to create a voltage divider. To do this you join one end of the FSR to Power and the other to a pull-down resistor, and Then the point between the fixed value pull-down resistor and the variable FSR resistor is attached to the ADC input of an Arduino.

This way, you can produce a variable voltage output, which a microcontroller’s ADC input can study.
Note that the output voltage you calculate is the voltage drop across the pull-down resistor, not across the FSR.
We can see with a 5V supply and 10K pull-down resistor, when there is no pressure, the FSR resistance is very high (around 10MΩ).
If you press the FSR hard, the resistance will go down to roughly 250Ω.
It is a little bit easy to join A FSR to an Arduino.
You must join a 10kΩ pull-down resistor in series with the FSR to produce a voltage divider circuit. Then the point between the pull-down resistor and the FSR is joined to the A0 ADC input of an Arduino.

Arduino Uno’s pin A0 to A5 can labor as the analog input. The analog input pin changes the voltage (between 0v and VCC) into integer values ( between 0 and 1023), called ADC value or analog value.
By joining a pin of the force sensor to an analog input pin, we can study the analog value from the pin by using the analogread() function, and then we can know how much it has been pushed down.
As FSRs are nothing but resistors, they can be used even if you don’t have any analog pins on your microcontroller (or, say, if you want to join more, then you have analog input pins).
We do this by taking the upper hand on a basic electronic property of resistors and capacitors. It turns out that if you initially take a capacitor that is storing no voltage and then attach it to the power through a resistor, it will slowly charge up to the power voltage. The bigger the resistor would be, the slower it is.
It is quite possible to calculate the real resistance from the reading, but unfortunately, variations in the Arduino board and the IDE will make it inconsistent.
Be conscious that if you charge IDE versions of O’s, use a 3.3 v Arduino instead of 5v, or change from a 16mhz Arduino to an 8mhz one (like a lilypad); there may be some difference due to how long it takes to study the value of a pin.
Code
For our very first experiment, we will study the sensor data from the ADC pin of the Arduino and display the product ( output) on the serial monitor.
The code is pretty simple. It just prints out what it interprets as the amount of force qualitatively. For most projects, this is very much all that’s needed. Copy and upload the code on your Arduino.
//for more cool projexts visit www.electronicsmith.com

int fsrPin = 0; // the FSR and 10K pulldown are connected to a0
int fsrReading; // the analog reading from the FSR resistor divider

void setup(void) {
  Serial.begin(9600);
}

void loop(void) {
  fsrReading = analogRead(fsrPin);

  Serial.print("Analog reading = ");
  Serial.print(fsrReading); // print the raw analog reading

  if (fsrReading < 10) {
    Serial.println(" - No pressure");
  } else if (fsrReading < 200) {
    Serial.println(" - Light touch");
  } else if (fsrReading < 500) {
    Serial.println(" - Light squeeze");
  } else if (fsrReading < 800) {
    Serial.println(" - Medium squeeze");
  } else {
    Serial.println(" - Big squeeze");
  }
  delay(1000);
}
Our next Arduino sketch is very new and measures the approximate Newton force measured by the FSR. This can be very useful for calibrating what forces you think the FSR will experience.
//for more cool projexts visit www.electronicsmith.com

int fsrPin = 0; // the FSR and 10K pulldown are connected to a0
int fsrReading; // the analog reading from the FSR resistor divider
int fsrVoltage; // the analog reading converted to voltage
unsigned long fsrResistance; // The voltage converted to resistance
unsigned long fsrConductance;
long fsrForce; // Finally, the resistance converted to force

void setup(void) {
  Serial.begin(9600); // We'll send debugging information via the Serial monitor
}

void loop(void) {
  fsrReading = analogRead(fsrPin);
  Serial.print("Analog reading = ");
  Serial.println(fsrReading);

  // analog voltage reading ranges from about 0 to 1023 which maps to 0V to 5V (= 5000mV)
  fsrVoltage = map(fsrReading, 0, 1023, 0, 5000);
  Serial.print("Voltage reading in mV = ");
  Serial.println(fsrVoltage);

  if (fsrVoltage == 0) {
    Serial.println("No pressure");
  } else {
    // The voltage = Vcc * R / (R + FSR) where R = 10K and Vcc = 5V
    // so FSR = ((Vcc - V) * R) / V yay math!
    fsrResistance = 5000 - fsrVoltage; // fsrVoltage is in millivolts so 5V = 5000mV
    fsrResistance *= 10000; // 10K resistor
    fsrResistance /= fsrVoltage;
    Serial.print("FSR resistance in ohms = ");
    Serial.println(fsrResistance);

    fsrConductance = 1000000; // we measure in micromhos so
    fsrConductance /= fsrResistance;
    Serial.print("Conductance in microMhos: ");
    Serial.println(fsrConductance);

    // Use the two FSR guide graphs to approximate the force
    if (fsrConductance <= 1000) {
      fsrForce = fsrConductance / 80;
      Serial.print("Force in Newtons: ");
      Serial.println(fsrForce);
    } else {
      fsrForce = fsrConductance - 1000;
      fsrForce /= 30;
      Serial.print("Force in Newtons: ");
      Serial.println(fsrForce);
    }
  }
  Serial.println("--------------------");
  delay(1000);
}
Here’s what the output looks like in the serial monitor.
FSR analog output2

FAQ
What is a force sensor?
Ans- By definition, a force sensor is a kind of transducer, specifically a force transducer. It changes an input mechanical force such as load, mass, tension, compression, or pressure into another physical variable
What are FSRs used for?
Ans- Force Sensing Resistors Or FSRs can be used for applications such as computer input devices, musical instruments, medical instruments, robotics, automotive, interactive toys, sports, and more.
How do you test a force-sensing resistor?
Ans- The most common way to determine how your FSR works are to attach a multimeter in resistance-measurement mode to the two tabs on your sensor and see how the resistance changes.