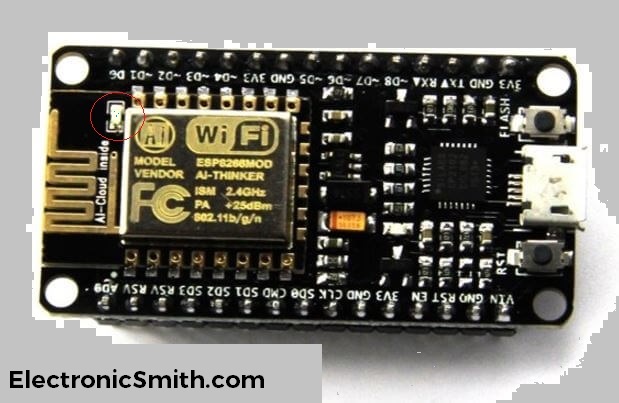
Espressif is one of the leading companies that mainly deals in Wi-Fi enabled microcontrollers. Their popular development boards are ESP8266 Nodemcu, ESP32, and ESP01. These tiny little powerful beast have onboard Wi-Fi connectivity that makes it a perfect device for IoT projects. These boards are very cheap which makes it perfect for ESP8266 projects.
We can program any ESP board using the Arduino IDE. We already know how to install and set up the Arduino IDE. Here, we are focusing on programming of ESP8266 Nodemcu.
Material Required
| Hardware | Quantity |
| ESP8266 Nodemcu | 1 |
| USB 2.0 | 1 |
| Software | Link |
| Arduino IDE | https://electronicsmith.com/how-to-install-and-arduino-software-download-software/ |
ESP8266 Nodemcu board integration
ESP launched after Arduino. So, Arduino IDE doesn’t have a pre-installed ESP Board. The reason is that Arduino and ESP are two different companies so they cannot provide software with pre-installed ESP boards.
The good news is Installation of ESP8266 Arduino IDE is very simple.
- The first step is to add the ESP board in Arduino IDE. For that, open the Arduino IDE, and go to File>Preferences. A new window will pop up on the screen.

- Copy the below-mentioned address command and paste into the additional board manager URL column and click on Ok. This is the address from where Arduino will download the board files.
http://arduino.esp8266.com/stable/package_esp8266com_index.json

- The next step is to add ESP board, go to the Tools>Board and the first option is Boards Manager.

- In the search bar, type ESP8266 and install the first option. Select ESP8266 by ESP8266 community, in my case, the version is (2.6.3). This will download and install all the available boards of ESP. After this, you are ready to program the ESP board.

ESP8266 Programming
We will upload the blink code on ESP to verify ESP8266 Programming.
- Open the example code of Arduino Blink or copy the following code and paste it in Arduino IDE.
void setup()
{
pinMode(LED_BUILTIN, OUTPUT);
}
void loop()
{
digitalWrite(LED_BUILTIN, HIGH);
delay(1000);
digitalWrite(LED_BUILTIN, LOW);
delay(1000);
}- We are using ESP8266-12E NodeMCU board. So, go to Tools>Board>NodeMCU 1.0 (Esp-12E Module). Then, select the COM port and upload the code.

Check the ESP8266 pinout and connect a LED to pin no 13. Also, an onboard blue led is connected to pin no. 13 that will start blinking.


3 thoughts on “How to Program ESP8266 Nodemcu using Arduino IDE”