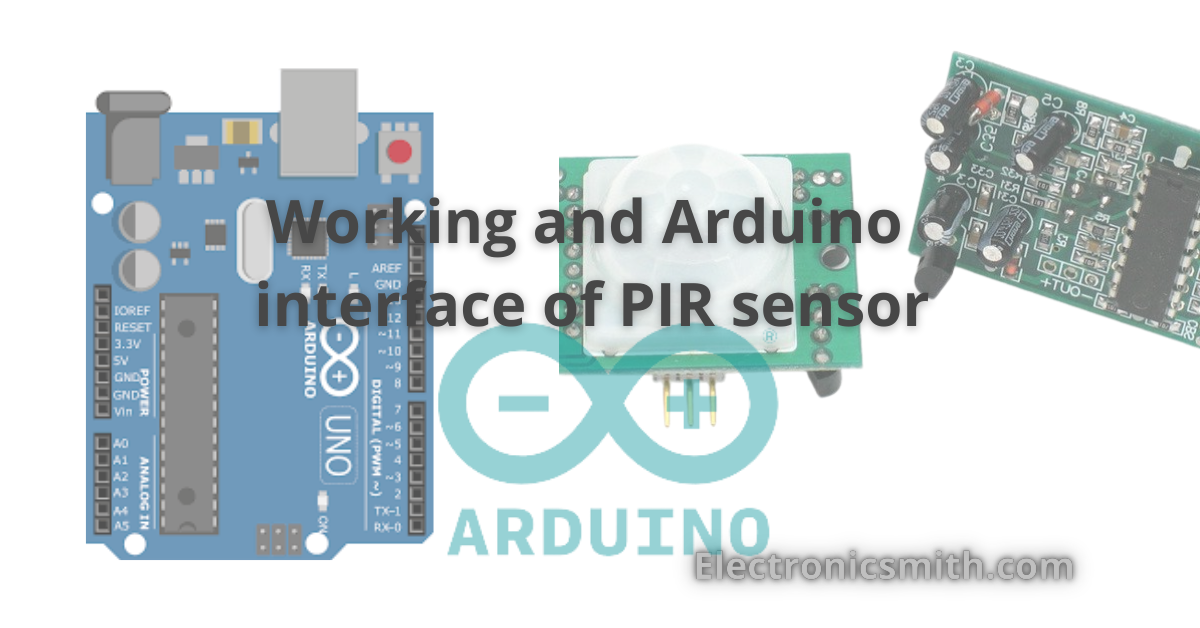
HC-SR501 PIR (passive infrared sensor) is used to detect motion. This module is cheap and easily available, so we will work with this module on this tutorial. In this article, we will know the working of the PIR sensor and interface it with Arduino.
Working of PIR sensor
PIR sensor is designed to detect infrared radiation emitted by the human body. Whenever a human changes its position within the range it triggers a digital output pin of the module.
A PIR sensor has two main parts, a Pyroelectric sensor covered with a Fresnel lens. The pyroelectric sensor has two rectangular slots with positive and negative electrodes. In ideal conditions, they cancel out each other If one half sees more or less IR radiation than the other, the output will swing high or low.

Pin Out of PIR sensor
PIR module has three output VCC (5v-12v), GND, and output pin. Apart from them, we have two potentiometers one to adjust Sensitivity and the second to Adjust time delay.

Components Required
| Name | Quantity |
| Arduino | 1 |
| HC-SR501 PIR sensor | 1 |
| Jumper wires | As per requirements |
| LED | 1 |
| 220 ohm resistor | 1 |
| Breadboard | 1 |
Connections
VCC of PIR Sensor will connect to Arduino 5v, GND to GND and Output pin will connect to Arduino pin no 8.

Code
int ledPin = 13;                // LED output
int inputPin = 8;               //PIR sensor input
int pirState = LOW;             //assuming no motion detected
int val = 0;                    // variable for reading the pin status

void setup() {
  pinMode(ledPin, OUTPUT);
  pinMode(inputPin, INPUT);

  Serial.begin(9600);
}

void loop(){
  val = digitalRead(inputPin);  // read input value and store in val variable

  if (val == HIGH)	// check if the input is HIGH
  {
    digitalWrite(ledPin, HIGH);  // turn LED ON

    if (pirState == LOW)
	{
      Serial.println("Motion detected!");	// print on output change
      pirState = HIGH;
    }
  }
  else
  {
    digitalWrite(ledPin, LOW); // turn LED OFF

    if (pirState == HIGH)
	{
      Serial.println("Motion ended!");	// print on output change
      pirState = LOW;
    }
  }
}
Code Explnation
Define led pins and input pins.
int ledPin = 13;                // LED output
int inputPin = 8;               //PIR sensor input
int pirState = LOW;             //assuming no motion detected
int val = 0;                    // variable for reading the pin status
Set pin mode as input or output.
 pinMode(ledPin, OUTPUT);
 pinMode(inputPin, INPUT);

  Serial.begin(9600);
Read PIR sensor status and store it to val variable.
val = digitalRead(inputPin); // read input value and store in val variable
In this section we check the val value, If the value is high we turn on the led and serial print motion detected. If the value is low turn off the led and serial print No Motion detected.
 if (val == HIGH)	// check if the input is HIGH
  {
    digitalWrite(ledPin, HIGH);  // turn LED ON

    if (pirState == LOW)
	{
      Serial.println("Motion detected!");	// print on output change
      pirState = HIGH;
    }
  }
  else
  {
    digitalWrite(ledPin, LOW); // turn LED OFF

    if (pirState == HIGH)
	{
      Serial.println("No Motion detected");	// print on output change
      pirState = LOW;
    }
  }
}
Things remember when working with HC-SR501 PIR sensor.
- PIR sensor takes some time to acclimatize with every new enviroment.
- It detects big bodies so insects or fly not detected by PIR sensor.
- PIR sensor gives only digital output.
