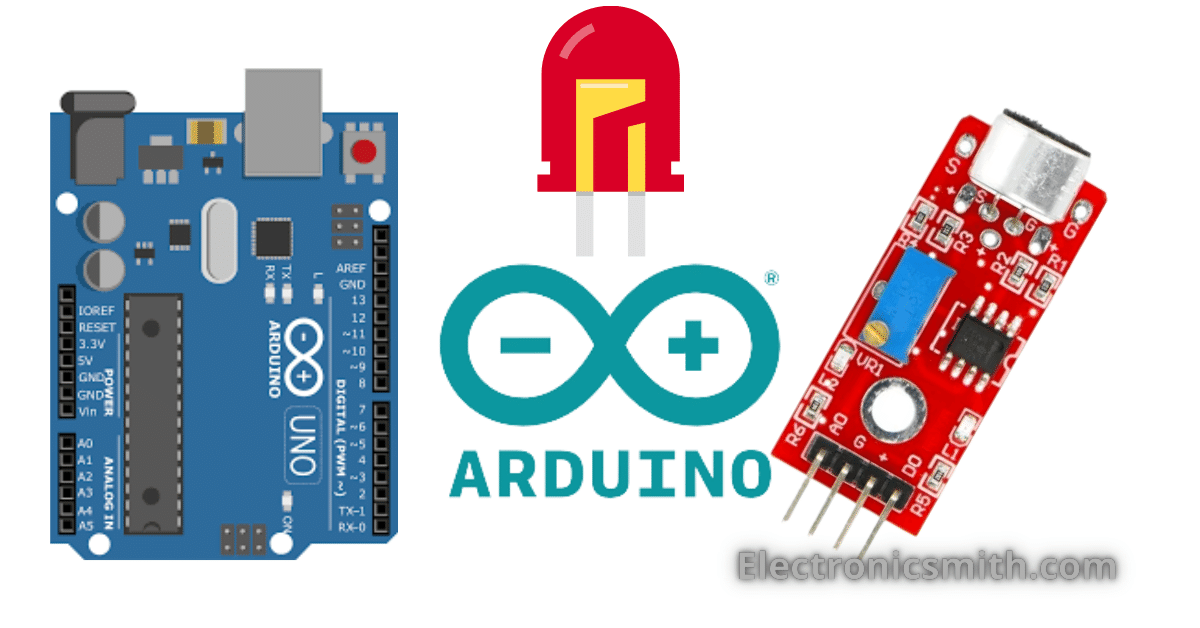
In this tutorial, we are going to work with a new sensor called a sound sensor. We will know the working of the sound sensor interface with Arduino and control a led.

The microphone measures the intensity of sound and sends it to LM393 op-amp. The lm393 op-amp amplifies the signal and gives digital and analog output. 10k pot is used to set the sensitivity of the sound sensor.
Material Required
| Name | Quantity |
| Sound sensor | 1 |
| Arduino | 1 |
| jumper wires | as per requirement |
| LED | 1 |
Arduino Connection with sound sensor
In this tutorial, we are using digital output which gives you a high signal after the threshold value. That threshold value is set by 10k pot presented on the board.

Code
This Code is to read the digital output and display it on a serial monitor.
const int soundPin = 7;

int soundVal = 0;

void setup ()
{
  pinMode (ledPin, OUTPUT);
  pinMode (soundPin, INPUT);
}

void loop ()
{
  soundVal = digitalRead(soundPin);
  Serial.println(soundVal);
 }
Connect the analog pin of the sensor to A0 of Arduino. The following code is to measure the analog output and display the value on the serial monitor.
const int soundPin = A0;

int soundVal = 0;

void setup ()
{
  pinMode (ledPin, OUTPUT);
  pinMode (soundPin, INPUT);
}

void loop ()
{
  soundVal = analougRead(soundPin);
  Serial.println(soundVal);
 }
Arduino Connection with sound sensor and LED
Connect a 220ohm resistor in between Arduino pin no. 9 led positive leg.

Code
When the sound exceeds the threshold value it will give a high signal. That high signal triggers the LED on.
const int ledPin = 9;
const int soundPin = 7;

int soundVal = 0;

void setup ()
{
  pinMode (ledPin, OUTPUT);
  pinMode (soundPin, INPUT);
}

void loop ()
{
  soundVal = digitalRead(soundPin);
  if (soundVal == LOW)
  {
    digitalWrite(ledPin, HIGH);
  }
  else
  {
    digitalWrite(ledPin, LOW);
  }
 }
Similarly, you can connect Relay and control any electronic device.
