Arduino UNO Wifi Rev 2 is a microcontroller device which is based on the brand-new 8-bit ATmega4809. It is the easiest way to get into the basics of the Internet of Things or IoT with the help of the UNO family. The Arduino board consists of an ECC608 crypto chip which is used to ensure a safe and secure Wi-Fi connection.
It is a one-stop solution for all users who are looking to build or develop a sensor network or create a low-power Bluetooth device that is connected to their mobile phone. The Arduino Uno WiFi is functionally the same as the Arduino Uno Rev3, but with some other enhancements like the addition of WiFi / Bluetooth.
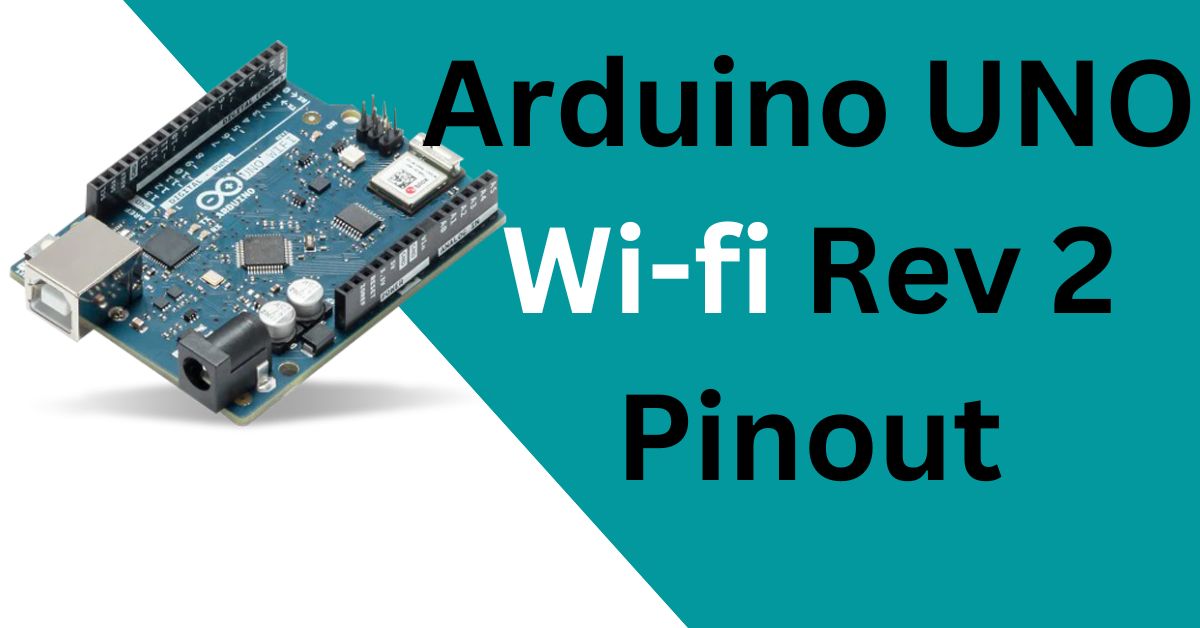
In this article, we will go through each and every detail related to Arduino UNO Wi-Fi Rev 2. Let’s begin
Arduino Uno Wi-Fi Rev 3 Board Layout

Microcontroller
The Arduino Uno Wi-Fi Rev 2 has a powerful microcontroller ATmega4809 with low-power architecture. The ATmega4809 offers 48 KB of programmable flash memory, 6144 Bytes of SRAM, and 256 Bytes of EEPROM. ATmega4809 microcontroller operates between 1.8 to 5.5 volts. It contains a total of 48 input/output pins.
Sensors
There are a total of three sensors available on Arduino Uno Wi FI Rev 2 which are:-
- A temperature sensor
- A 6-axis accelerometer/gyroscope for motion sensing
For motion sensing, LSM6DS3TR is used. The LSM6DS3TR is a low-power IMU (Inertial Measurement Unit) module that includes a 3D digital accelerometer & gyroscope.
Voltage Regulator
The main function of the voltage regulator is to regulate the input and output voltage of the Arduino UNO Wi-Fi Rev 2 board. It is also used to regulate the voltages of 5v and 3V3 Pin. The maximum voltage this board can bear is 12 volts after this value of the voltage the board may get damaged.
Crypto Chip
The Arduino Uno Wi-Fi Rev 2 board consists of a crypto chip ECC608 which makes sure that the data remains secure and private. The ECC608 can store up to 16 keys in an EEPROM array.
U-Blox NINA-W102
The board consists of a module that is used to enable Bluetooth and Wi-Fi connectivity for the UNO WiFi Rev2 board.
Clock
Arduino Uno Wi-Fi Rev 2 contains a clock that oscillates at 16MHz speed. The clock pulse is required for the synchronization of all internal functions.
USB Connector
The Arduino Uno Wi-Fi Rev 2 has a USB-B port for connection. The USB connector has mainly two purposes. To load a user program to Arduino using Arduino IDE and to power the Arduino Board.
The specification of Arduino Uno Wi-Fi Rev 2 is as follows
| Microcontroller | ATmega4809 |
| USB connector | USB-B |
| Operating Voltage | 5V |
| Input Voltage (recommended) | 7 – 12V |
| Digital I/O Pins | 14 — 5 Provide PWM Output |
| PWM Digital I/O Pins | 5 |
| Analog Input Pins | 6 |
| DC Current per I/O Pin | 20 mA |
| DC Current for 3.3V Pin | 50 mA |
| Flash Memory | 48 KB (ATmega4809) |
| SRAM | 6,144 Bytes (ATmega4809) |
| EEPROM | 256 Bytes (ATmega4809) |
| Clock Speed | 16 MHz |
| Radio module | U-Blox NINA-W102 |
| Secure Element | ATECC 608A |
| Inertial Measurement Unit | LSM6DS3TR |
| LED_BUILTIN | 25 |
| Communication Protocols | UART, SPI, And I2C |
| Length | 68.6 mm |
| Width | 53.4 mm |
| Weight | 25 g |
Arduino Uno Wi fi Rev 2 Pinout
The pinout of the Arduino Uno Wi-Fi Rev 2 is as follows

Power Pins of Arduino Uno Wi-Fi Rev 2
Vin
The input voltage to the Arduino UNO wi-fi rev board when it’s using an external power source.
| 1 | VIN | Power | Supply voltage |
5V
This pin outputs a regulated 5V from the regulator on the board. It supplies voltage via the 5V or 3.3V pins.
| 2 | +5V | Output or Input | +5V Output (From On-board Regulator) or+5V (Input from External Power Supply |
3V3
This pin outputs a regulated 3.3-volt supply generated by the onboard regulator. The maximum current draw from this pin is 50 mA.
| 3 | 3V3 | Output | +3.3V Output |
IOREF
This pin on the Arduino UNO wi fi rev 2 board provides the voltage reference with which the microcontroller operates.
Input/Output Pins
Digital Pins
There are a total of 14 digital input/output pins available on Arduino UNO wi fi rev 2 board. The digital pins are used as an input or output according to the requirement. The digital pins can only read two states which are:-
- High
- Low
However, we can use 1 for the high state and 0 for the low state. When these pins receive 0V they are in a LOW state and when they receive 5V they are in a HIGH state.
The digital pins on the Arduino Uno Wi-Fi Rev 2 board are from D0 to D13.
| 1 | D0 | I/O | Digital I/O Pin |
| 2 | D1 | I/O | Digital I/O Pin |
| 3 | D2 | I/O | Digital I/O Pin |
| 4 | D3 | I/O | Digital I/O Pin |
| 5 | D4 | I/O | Digital I/O Pin |
| 6 | D5 | I/O | Digital I/O Pin |
| 7 | D6 | I/O | Digital I/O Pin |
| 8 | D7 | I/O | Digital I/O Pin |
| 9 | D8 | I/O | Digital I/O Pin |
| 10 | D9 | I/O | Digital I/O Pin |
| 11 | D10 | I/O | Digital I/O Pin |
| 12 | D11 | I/O | Digital I/O Pin |
| 14 | D12 | I/O | Digital I/O Pin |
| 15 | D13 | I/O | Digital I/O Pin |
Analog Pins
There are a total of 6 analog pins available on the board. Analog Input Pins are useful to take the signal from analog sensors and convert it into a digital value. These pins can receive any value. It can receive value not only in the high or low states but in other forms also. The analog pins of the board are from Pin A0 to Pin A5.
| 1 | A0 | Input | Analog Input Channel 0 |
| 2 | A1 | Input | Analog Input Channel 1 |
| 3 | A2 | Input | Analog Input Channel 2 |
| 4 | A3 | Input | Analog Input Channel 3 |
| 5 | A4 | Input | Analog Input Channel 4 |
| 6 | A5 | Input | Analog Input Channel 5 |
PWM Pins
From the 14 digital pins, 5 pins are considered Pulse Width Modulation pins. The work of PWM pins is to convert the digital inputs to analog output. These pins are mainly used to control the speed of the motor. The PWM pins of Arduino UNO wi-fi rev 2 are Pin no 3, 5, 6, 9, and 10.
| 1 | D3 | I/O | Digital I/O Pin |
| 2 | D5 | I/O | Digital I/O Pin |
| 3 | D6 | I/O | Digital I/O Pin |
| 4 | D9 | I/O | Digital I/O Pin |
| 5 | D10 | I/O | Digital I/O Pin |
GND pin
This pin is used as the ground pin of the board.
| 1 | GND | Power | Supply Ground |
Communication Pins Of Arduino Uno Wi-Fi Rev 2
SPI Pins
The Arduino Uno Wi-Fi Rev 2 board supports the “Semi – Peripheral Communication Protocol” or SPI. The SPI protocol is used to develop communication between the controller device and its peripheral devices. Three pins are needed for SPI communication protocol which is:-
- MISO – It stands for Master Input/Slave Output. This data line sends data to the master device.
- MOSI – It stands for Master Output/Slave Input. This data line is used for sending data to slaves/peripheral devices.
- SCK – This pin is used to synchronize the data transfer between the master and slave device.
SPI pins on the board are D11 which is used asMOSI pin, D12 which is used as a MISO pin, and D13 which is used as an SCK pin.
| 1 | D11/MOSI | I/O | Digital I/O Pin 11Master Out Slave In | |
| 2 | D13/MISO | I/O | Digital I/O Pin 13Master In Slave Out | |
| 2 | D13/SCK | Output | Digital I/O Pin 13Clock From Master To Slave |
UART Pin
The Arduino Uno Wi-Fi Rev 2 consists of a UART communication protocol which is used for serial communication. It consists of two pins which are Rx and TX.
- Rx – This pin is used to transmit the serial data.
- TX – This pin is used to receive the serial data.
UART pins are D1 which acts as TX pin and D0 which act as Rx pin.
| 1 | D0/RX | I/O | Digital I/O PinSerial RX Pin |
| 2 | D1/TX | I/O | Digital I/O PinSerial TX Pin |
I2C Pins
I2C is a two-wire serial communication protocol. It stands for “Inter-Integrated Circuit.” It uses two pins for communication purposes. One of them is used to send data while the other pin is used to receive data.
The two pins of the I2C protocol are “Serial Clock Pin(SCL)” and “Serial Data Pin(SDA)”.
- SCL – It is defined as the line which transfers the clock data. SCL pin is used to synchronize the shift of data in between two devices. This signal is generated by the master device. It is a clock line.
- SDA – It is defined as the line which is used by slave devices to send and receive data. It is a data line.
I2C pins on the board are D20 which is SDA and D21 which is SCL.
| 1 | D20/SDA | I/O | Digital I/O PinSerial Data Pin |
| 2 | D21/SCL | I/O | Digital I/O PinSerial Clock Pin |
RESET Pin
This pin is used to RESET the microcontroller. For this purpose, we have to pull this line to LOW.
| 1 | RESET | Input | Reset ( Active Low) |
GND pin
This pin is used as the ground pin of the board.
| 2 | GND | Power | Supply Ground |
RGB LED
It stands for Red Green Blue. The Arduino UNO WiFi Rev 2 has a built-in RGB LED which can be programmable.
Frequently Asked Questions:-
- Does the Arduino UNO wifi rev 2 work with a 2.4-inch TFT touchscreen display shield?
- Yes, it will work fine with a 2.4-inch TFT touchscreen display shield.
- Is Arduino UNO wi-fi rev 2 compatible with the IoT cloud?
- The Uno WiFi Rev2 is not currently supported by Arduino IoT Cloud, so it’s not possible to do so.
- Is Arduino UNO wifi rev 2 compatible with all the I2C libraries with which Arduino UNO is compatible?
- No, It is not compatible with all the I2C libraries available with which Arduino UNO works perfectly.